How to Make a Torus
This step-by-step guide will show you how to make a torus in AC3D using the Revolve tool.
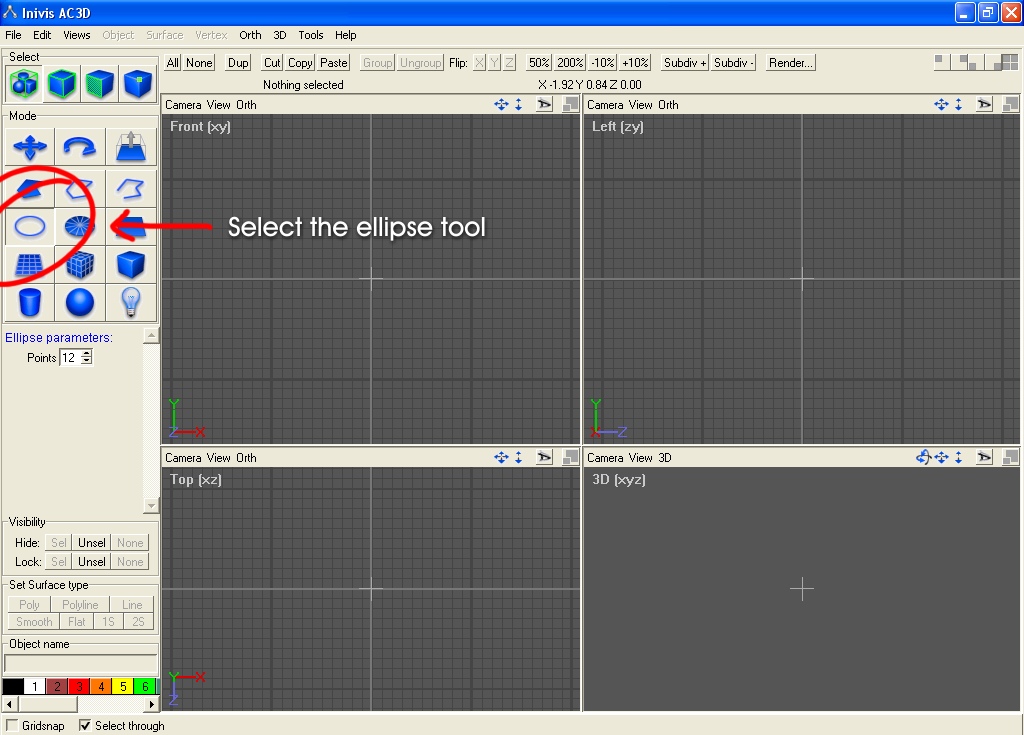
Select the ellipse tool. (Click for larger image.)
1) Select the ellipse tool. Be sure to select the ellipse, which leaves only an outline, and not the disc, which draws a solid circle. They may look the same, but the disc will leave solid faces inside your finished torus.
The control key will let you draw a perfect circle every time.
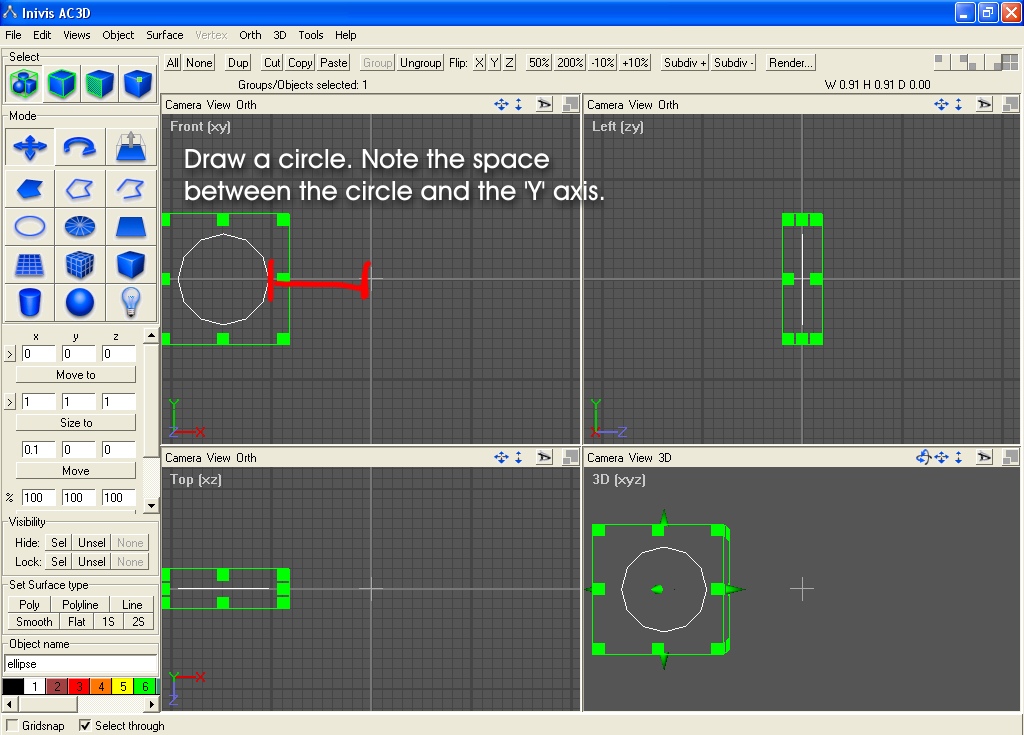
2) Hold down the ‘control’ key to constrain the shape, and draw a circle. Be sure to draw your circle slightly to the left of the Y axis, not directly on the axis. The distance between the Y axis and the center of your circle will be the inner radius of your finished torus.
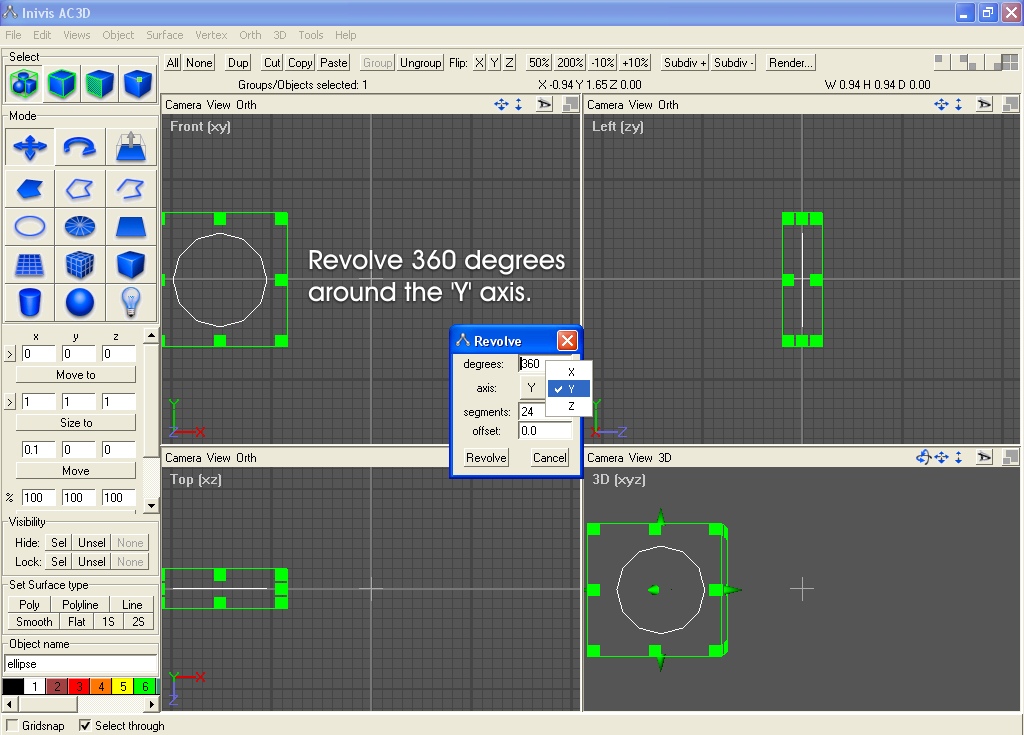
Make sure your axis is set to ‘Y’ to make a torus.
Otherwise, you may get a lump instead.
3) From the Object menu, select Revolve. This will open the Revolve tool. Make sure your axis of revolution is set to ‘Y’. Make sure the number of degrees is set to 360. Set the offset to 0.0. Sections can be set to anything you like; the more sections you choose, the smoother your torus will be, but it will use more polygons. Click ‘Revolve’ to create the torus.
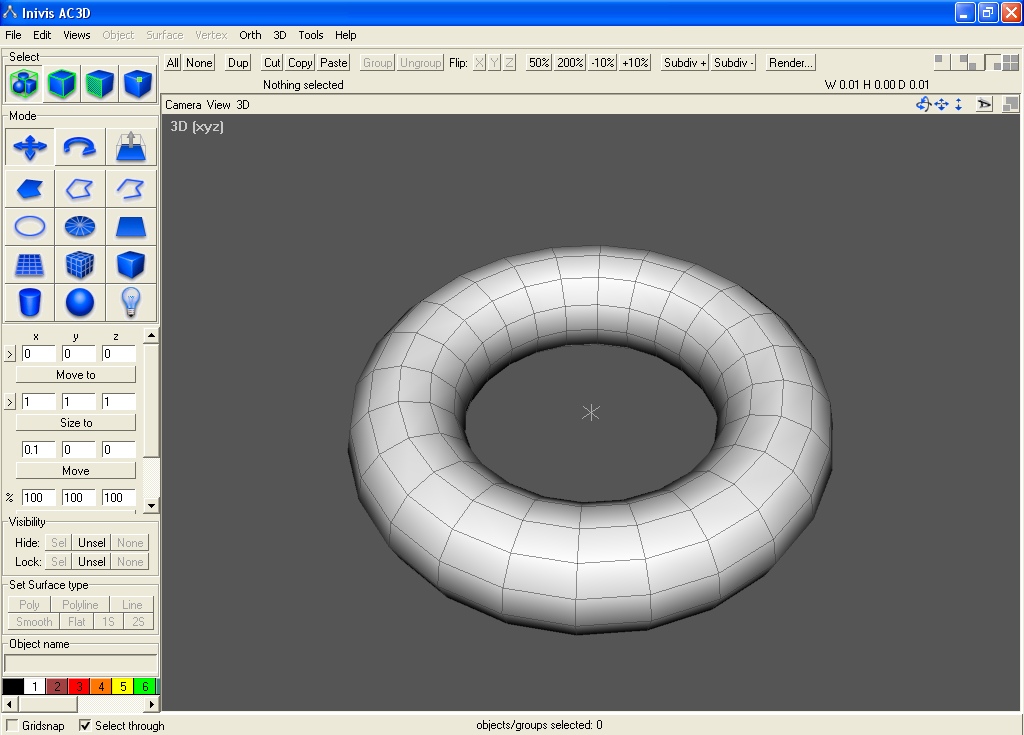
The finished torus.
That’s it! You can create a lot of different shapes this way. Changing the offset, in particular, will let you create all kinds of crazy shapes like screw threads and spirals too. Experiment and have fun!
Tags: 3d modeling, ac3d, cg, conic section, graphics, how to, torus, tutorial