Posts Tagged ‘ac3d’
Wednesday, May 14th, 2008
EDIT: The texture monitor is now obsolete. As of 6.4, AC3D now includes its own, much better texture monitor.
A new version of the AC3D texture monitor plugin is available! This version adds a “smart update” feature that prevents the same texture from being reloaded multiple times, even if you use the texture multiple times in your scene. The texture monitor now also ignores files who’s “last modified” time stamp has not changed on disk within the last 10 minutes, so textures you haven’t changed don’t get reloaded. This should make load times much faster, especially in large, heavily-textured scenes.
Enjoy!
Read about the texture monitor or download the file here.
Tags: ac3d, cg, cgi, disk monitor, images, paint, plugins, reload, tcp/ip, texture map, texture monitor
Posted in General, Tools and Plugins | Comments Off on Texture Monitor Updated
Tuesday, May 13th, 2008
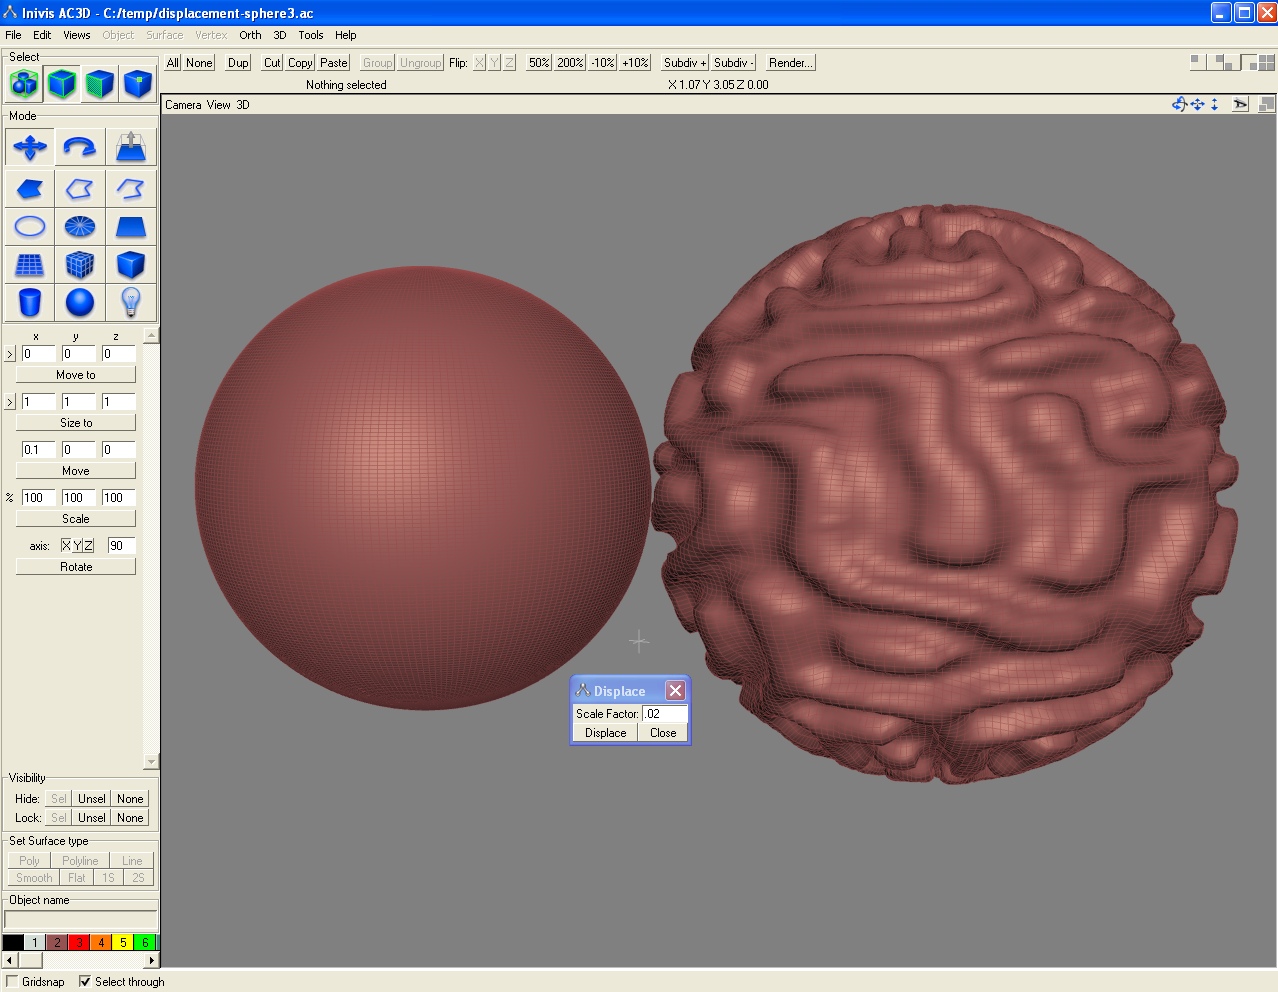
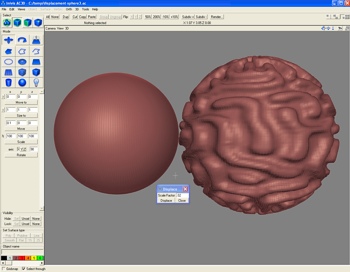
This plugin adds displacement map support to AC3D. Displacement mapping is a technique that deforms the current geometry, displacing the vertices in accordance with elevation values stored in a texture map. This technique is useful for “painting on” details onto a very high resolution mesh.
Displacement maps can be painted with 2D art tools such as Corel, Photoshop or Gimp; or, they can be exported from 3D sculpting programs such as ZBrush or Mudbox. The AC3D displacement map plugin supports 8-bit grayscale and 16-bit red-green (POV-Ray format) displacement maps.
If you are new to displacement mapping, this tutorial explains the process in more detail.
Download the plugin. (Requires Windows XP, AC3D 6.2 or above.)
Tags: ac3d, bump map, cg, cgi, computer graphics, displacement map, height field, heightfield, Mudbox, normal map, POV-Ray, ZBrush
Posted in General, Tools and Plugins | 3 Comments »
Wednesday, May 7th, 2008
Here’s a fun one! Ever wanted to re-create the look of heavy “toon” outlines, but didn’t have a shader for it? Believe it or not, there’s an easy way to fake it using fixed-function only.

Here’s how to do it:
- Make sure all your surface normals are unified (facing outwards) and your polygons are set to 1-sided
- Make a copy of your object and resize it so it is ever-so-slightly larger than the original
- On the copy, set the surface material to black
- Invert the surface normals
That’s it! Nifty, eh? The method’s not perfect–for best results, stick to convex objects–but it’s great for quick renders and on limited hardware platforms where shaders aren’t an option.
Tags: ac3d, cg, cgi, computer graphics, hacks, non-photorealistic rendering, raytracing, rendering, toon shading, tricks
Posted in 3D Tutorials, General | Comments Off on Fake Toon Outlines
Tuesday, April 1st, 2008
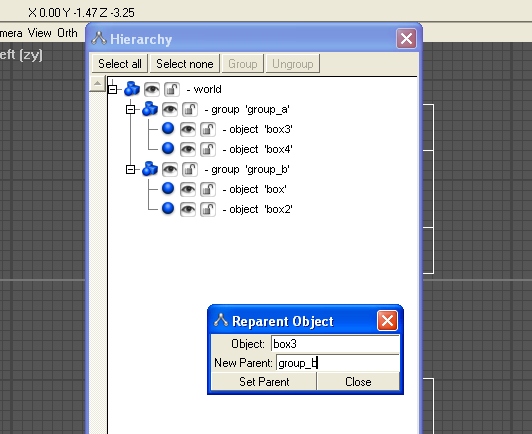
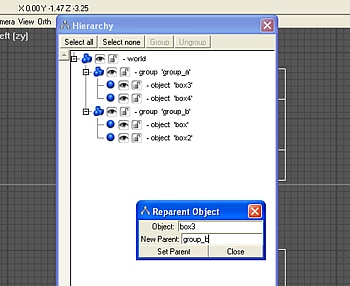
This is actually a really old plugin, but it still has its uses. This plugin allows you to change the parent of a mesh or group by entering the name of the desired parent group in a dialog box. You can accomplish more-or-less the same thing via drag and drop in the hierarchy menu already, but it’s still handy when you have a really complex setup and don’t want to hunt through the list to find what you’re looking for.
Download the plugin. (Requires Windows XP, AC3D 6.2 or above.)
Tags: 3d modeling, ac3d, cgi, computer graphics, plugins, tools
Posted in General, Tools and Plugins | 1 Comment »
Saturday, March 22nd, 2008
From time to time, people ask me how to “cut edges” in AC3D since the way AC3D handles edges is a bit different than other programs. Usually, I use the Divide Loop plug-in which is normally the fastest, easiest way to go. But, every now and then you get an edge that isn’t well suited for Divide Loop. In these cases, I use a combination of Insert Vertex and Slice Surface.
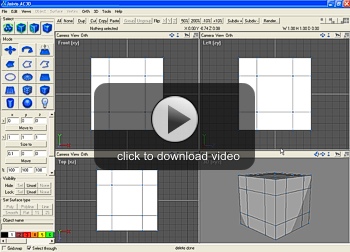
This video shows you how:
A QUICK SIDE NOTE: It is much faster to use the hotkeys (ctrl+shift+I and ctrl+shift+L) than it is to use the menus… the whole process can be completed in only a few seconds if you use the hotkeys. However, for the sake of clarity, I use the menus in the video so you can actually see what I’m doing. 🙂
Tags: ac3d, cg, cgi, computer graphics, cut edge, divide loop, insert vertex, slice edge, surface, tutorial, vertice
Posted in 3D Tutorials, General | Comments Off on How to Cut Edges and Add Loops in AC3D